Are you thinking about making a video or vlog? Here are some simple tips from what I’ve learnt over the last year as a novice videographer.
The first video I made, which was of Pete and I bike packing the Outer Hebrides was all filmed on my i phone. At the time it was an i phone 11 Pro. I would suggest that you just use what you have first. Don’t buy anything to start out with, have a go and use some free editing software on your phone like ‘i movie’. Just make sure to film in landscape if you want to make a YouTube video and vertically for reels or shorts on Instagram or YouTube.
Settings on i Phone 12 Pro
I now have an i Phone 12 Pro which I use to take all of the photos and videos on my Instagram page and YouTube. To keep videos and images high-quality, make sure to change your settings. Depending on how much storage you have on your phone you’ll want to weigh up quality vs size of the videos and photos you take.
If you want to film in 4K – go to settings > camera > record video > 4K at 30 fps. I’ve tried 4K at 60 fps but unless you have a tripod it will be quite shaky. Also switch on HDR video to reproduce what the naked eye sees in colours and in contrast. If you want to reduce the file size one thing you could do is change the video settings to a lower resolution when you aren’t so bothered about the quality of what you are recording. One way to have the best of both would be to set the video to be 4K so it is always ready when you want the footage to be 4K, then use QuickTake video on days when you don’t mind the lower quality and the recording will automatically be at 1080 HD at 30 fps.
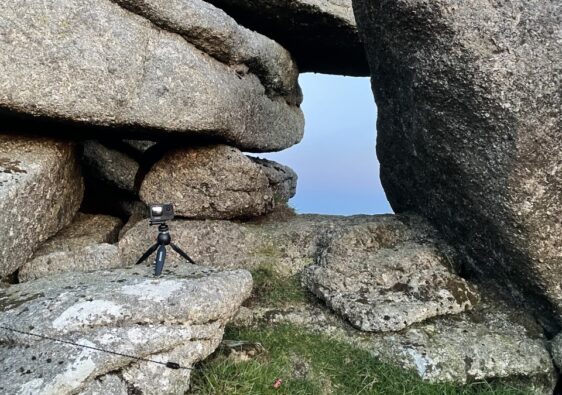
Keeping the shots stable
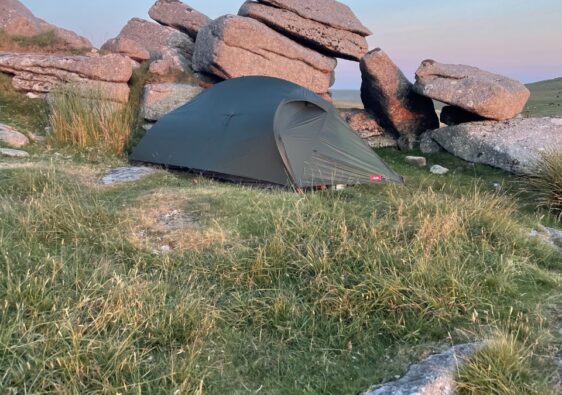
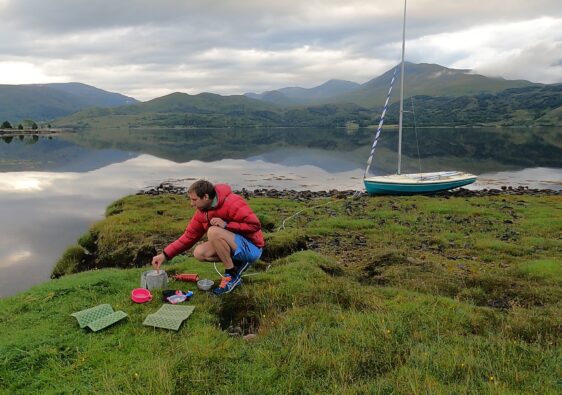
Try and keep shots stable and smooth for the best video. Slow panning shots, or shots where you use something to stabilise the phone. I would just prop my phone up against a bag or a stone, but I have recently invested in a tripod.
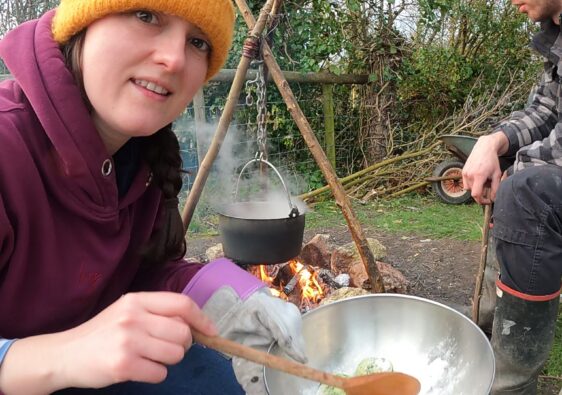
Take a variety of angles
To make your video better try using a variety of angles. This means that your video will be more varied and interesting when you come to edit it.
Audio quality
If you are going to be using the audio in your video, try and film on calm days when the wind doesn’t interfere with the sound. Or invest in a microphone attachment such as the one recommended in my gear list here. I’ve also seen some cheap hacks where people cover the mic with a fluffy fabric to stop the wind noise.
Uploading and Exporting to YouTube or Instagram
When uploading videos or photos from your phone to Instagram make sure that the settings in the app are: settings > account > data usage > select ‘high-quality uploads’. When exporting a finished video from any software, you’ll want to change the export settings to be at 4K for YouTube. I have filmed a whole video in 4K myself and then not exported it and uploaded it with the correct settings. YouTube will also compress your video, so you’ll want to make sure it is the best quality that you can before uploading it.
Happy adventures!
Heather 🙂